Basic Example Scene

Overview

The RIDE standalone application features a collection of example scenes that display key capabilities of the API. This application can be built locally with custom scenes added to the existing LevelSelect scene Demos menu list for your own demonstration purposes. 

This tutorial is geared toward developers and researchers working with the RIDE project source and new to the Unity development platform. 

Learn how to create the most basic test scene that can launch from, and return to, the LevelSelect scene Demos listing.

Page Contents

Requirements

Users new to RIDE and Unity will want to ensure their development environment is fully setup before continuing further. See the Standalone Application Customization tutorial for details.

New Scene Creation for LevelSelect Scene Demos Listing 

How to create a basic test scene compatible with LevelSelect scene Demos listing

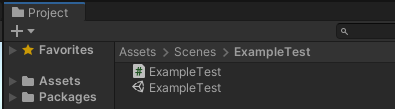
If new to Unity and RIDE toolset, recommend first creating the most basic test scene that can launch from, and return to, the LevelSelect scene Demos listing. 

  1. Unity editor, File > New Scene
  2. File > Save As…
  3. Within the project directory, navigate to /Assets/Scenes
  4. Create a new sub-folder, giving it the same name as the new scene that will be saved. (Ex. “ExampleTest”)
  5. Open this new sub-folder.
  6. Name the scene the same as the sub-folder and click Save.
  7. In Project panel, search field, type “ridebaseminimal”
  8. Double-click this file (RideBaseMinimal.cs) to open it in the system default text editor. Recommend Notepad++ or other source code editor.
  9. Copy the first 31 lines of file text.
  10. Create new file in text editor of choice.
  11. Paste 31 lines into new file.
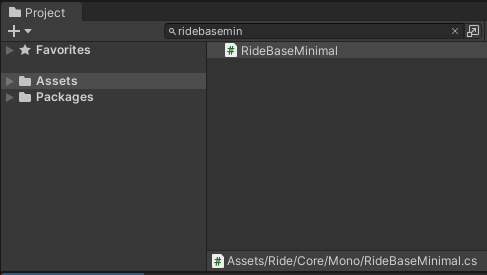
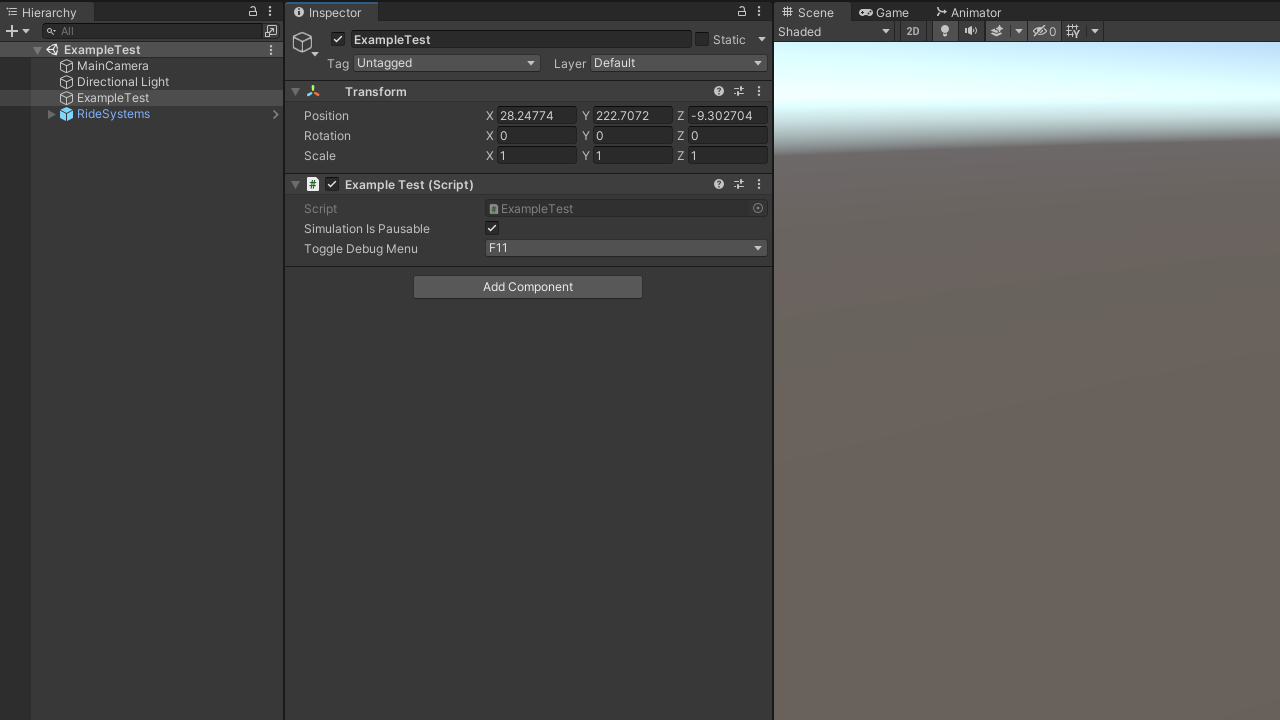
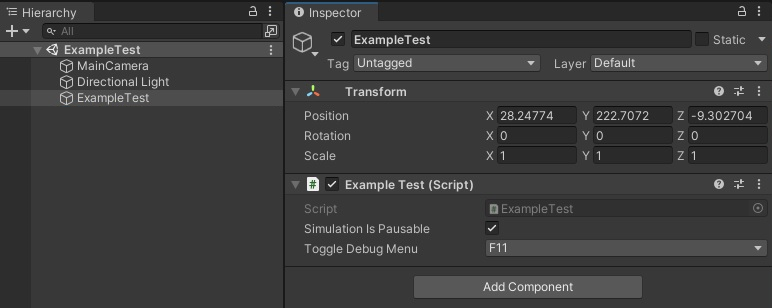
  12. Modify the script to appear exactly as the provided code block example; however, replace the “public class” value of “ExampleTest” with the name of your newly saved scene. This new class is derived from “RideBaseMinimal” which enables the bare minimum of  RIDE systems, including load/exit of the individual scene within the LevelSelect scene.  

    ExampleTest.cs
				
					
using System;
using UnityEngine;
using Ride;
using Ride.IO;
using Ride.UI;

namespace Ride.Examples
{
    public class ExampleTest : RideBaseMinimal
    {
	}
}


  1. Save this file to the same sub-folder inside of /Assets/Scenes named after the new scene, which also contains the scene file itself.
  2. Unity editor, in Hierarchy panel, right-click and choose Create Empty from the context menu.
  3. Rename object to match the scene name.
  4. Ensure object selected.
  5. Inspector panel, click Add Component button.
  6. In the search field, type the name of newly saved script, which matches the object/scene name.
  7. Click the script result to add it to the object as a component.
  8. In Project panel, search field, type “ridesystems”
  9. Drag the corresponding prefab into the scene Hierarchy. This prefab initializes all the systems available in RIDE. Expand the prefab in the Hierarchy view to disable systems as desired.  
  10. Save scene.
  11. Verify the scene works by clicking the Play button in the top-center of the Unity toolbar to compile and launch the scene.
  12. Open the Console panel to watch for any errors/warnings. If an error appears, double-check the content of the newly saved script file.
  13. If the scene runs successfully, stop the editor run-time mode by clicking the Play button again.

Achievement Unlocked!

Now that the test scene is compatible with the LevelSelect scene, it can be further developed or added to the LevelSelect scene Demos listing.