
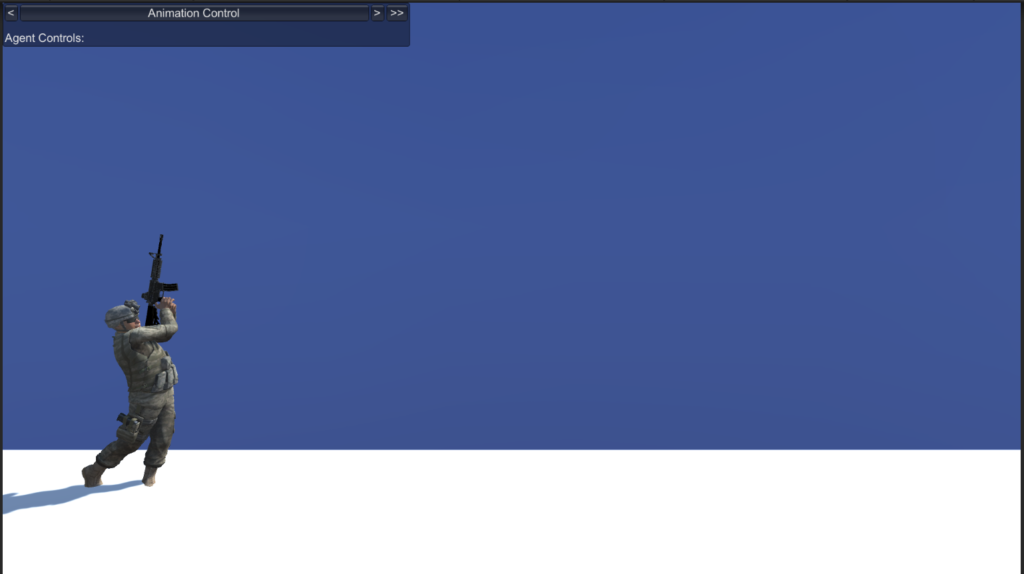
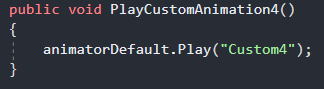
In this tutorial learn how to add custom animations to agent avatars in RIDE, including a simple debug selection menu.
Note, the referenced example scene may utilize a different custom animation than the one described.
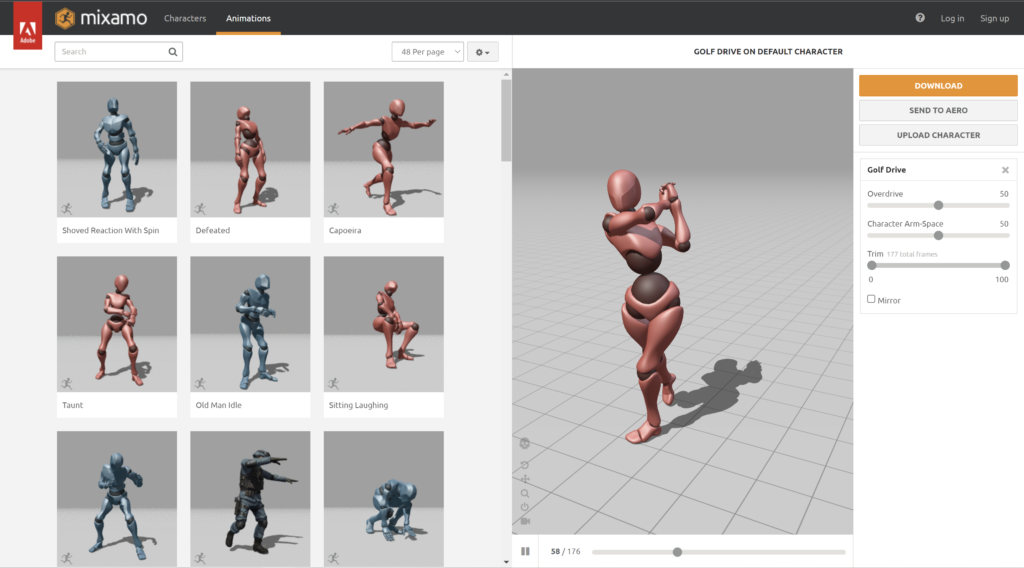
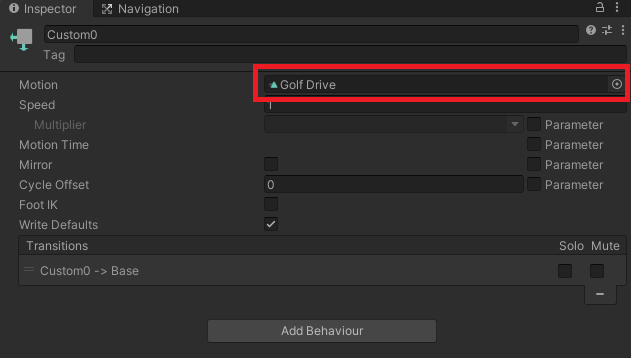
This tutorial will show how to add custom animation using an animation clip from Mixamo.
Assets/Examples/CustomAgentAnimations/ExampleCustomAgentAnimations.unity
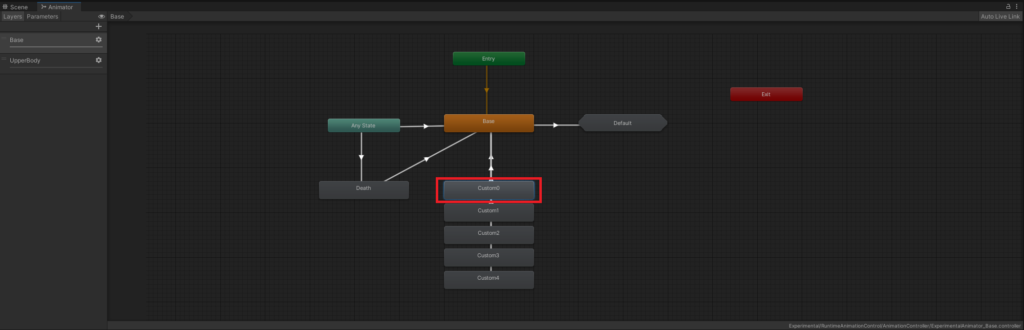
Animation Override Controller from Unity allows users to replace specific animations while retaining the base animation controller’s structure and parameters (https://docs.unity3d.com/Manual/AnimatorOverrideController.html). However, RIDE does not incorporate this mechanic because it lacks the desired flexibility; Animation Override Controller does not have the capability of modifying states and blending settings.
Virtual Human characters use a separate animation controller from this tutorial and do not support custom animations at the moment.