Purpose
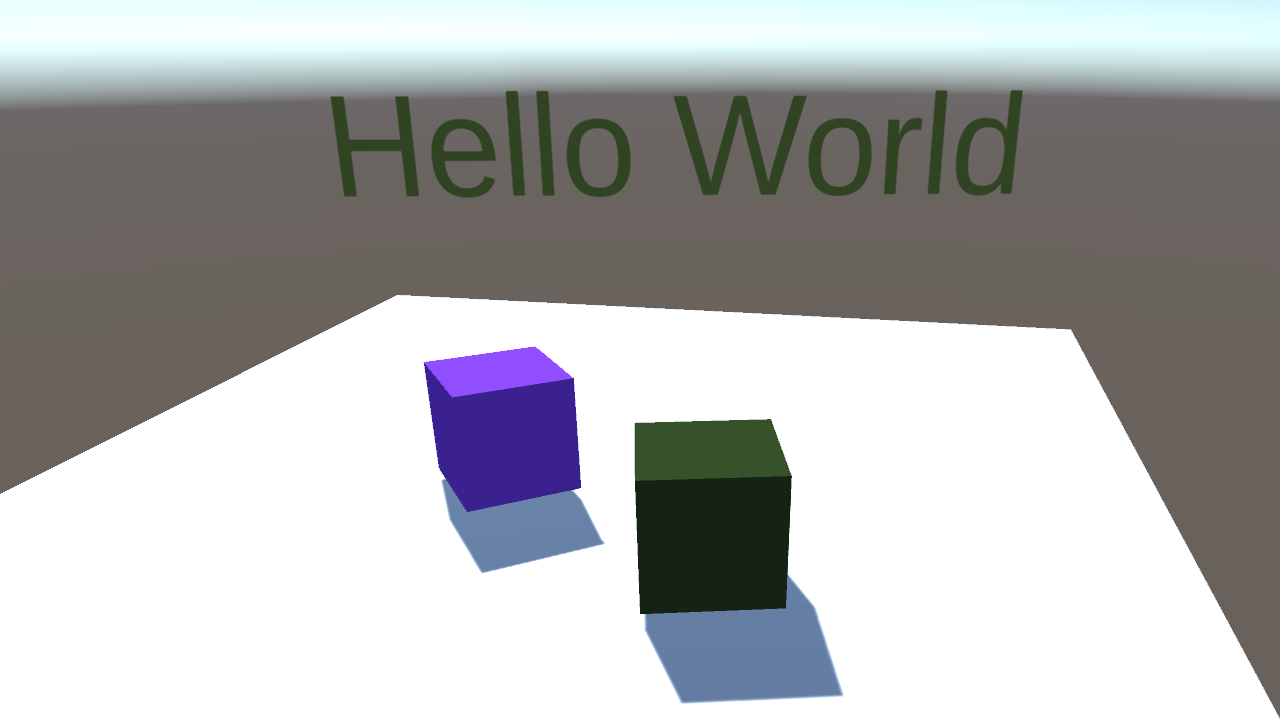
This example demonstrates how to set up a network environment with controllable characters using the RIDE API and Photon asset package.
How to Use
Connect/Create Lobby
- Enter a Nickname or use default
- Click Connect
- Click Create Room to instance your own lobby
- Alternatively, click Join on a lobby under Available Rooms
- Player will spawn immediately in scenario
Exit/Disconnect
- Exit the room at any time by clicking Leave Room to return to the network lobby listing
- Alternatively, click Disconnect to sever the network lobby connection
- Press Escape key to return to the Level Select menu
Input Controls – PC
This scene is compatible with standard PC keyboard and mouse input.
Keyboard & Mouse
General Controls
- F11 toggles off/on debug/system menus
- Step to the next menu be either clicking the middle title bar or arrows (<>) at the top
- System statistics appear in subsequent menus
- ~ key toggles the console tool
Player Controls
- Press WS keys to move forward/back
- Press AD keys to motion strafe left/right
- Press Q to cycle character color
- Press Spacebar to spawn emote/floating text
- Move cursor to rotate camera
Single PC Host / Client Test Method
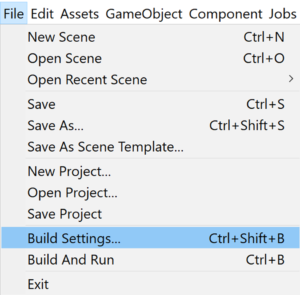
- Go to File > Build Settings option.

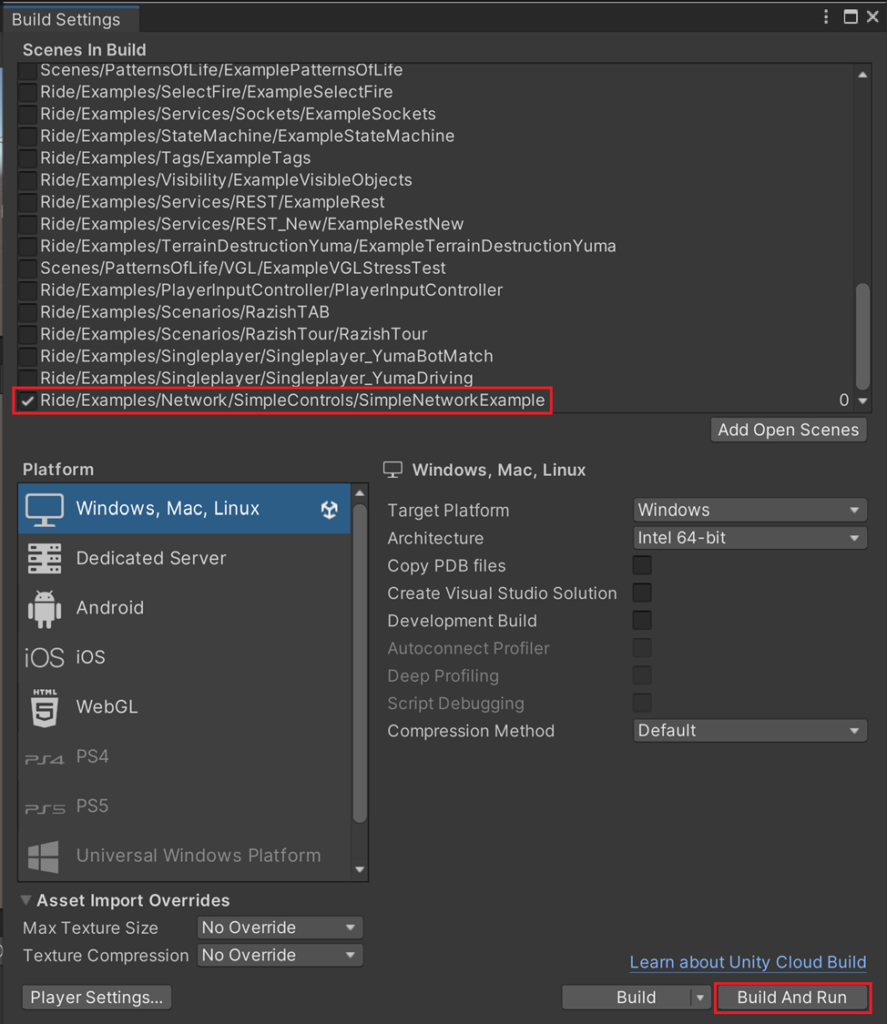
- Make sure SimpleNetworkExample scene is included in the Scenes in Build listing.

- Click on Build and Run to build an executable.
- Launch standalone build.
- Play SimpleNetworkExample scene.
- Create a room as instructed above.
- Play the same scene from the Unity editor while keeping the standalone instance open.
- Join the room created from the standalone instance.
- Manipulate the character to observe how scenes from the standalone and editor appear synchronized.
Scene Location & Name
Assets/Ride/Examples/Network/SimpleControls/SimpleNetworkExample.unity
Setup Requirements
The SimpleControls scene utilizes a cross-section of capabilities through scripts and prefabs:
- RideSystems
- Photon
- SimpleNetworkExample.cs
- SimpleNetworkCharacter.cs
- SimpleNetworkCamera.cs
- DebugConsole
- NetworkControllableCube


