ExampleOAuthPage
ExampleOAuth

Purpose

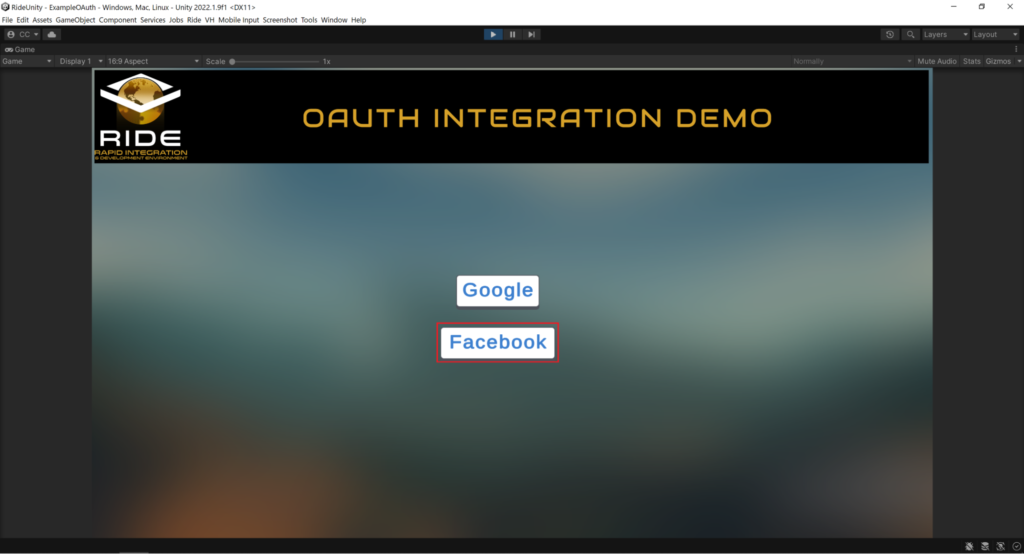
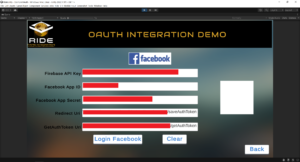
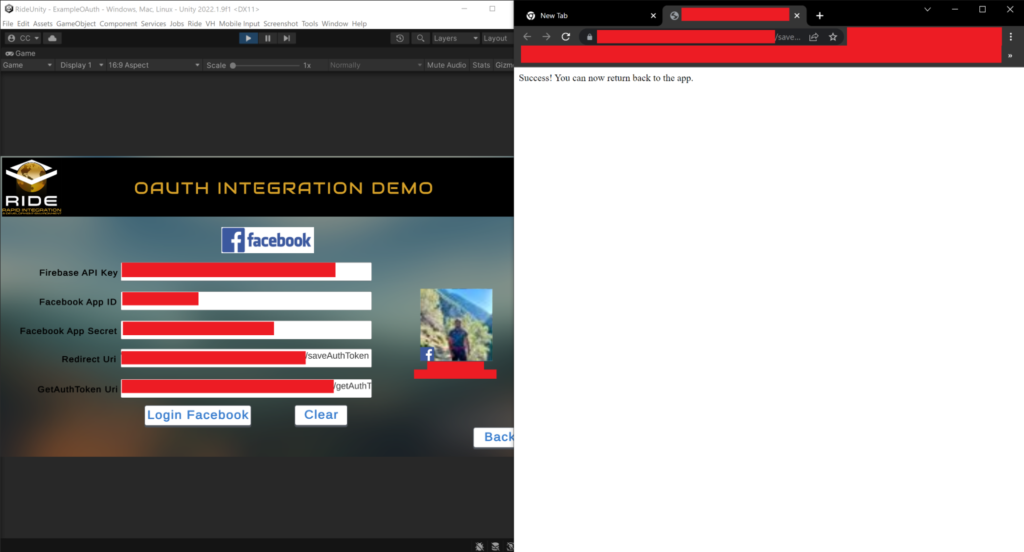
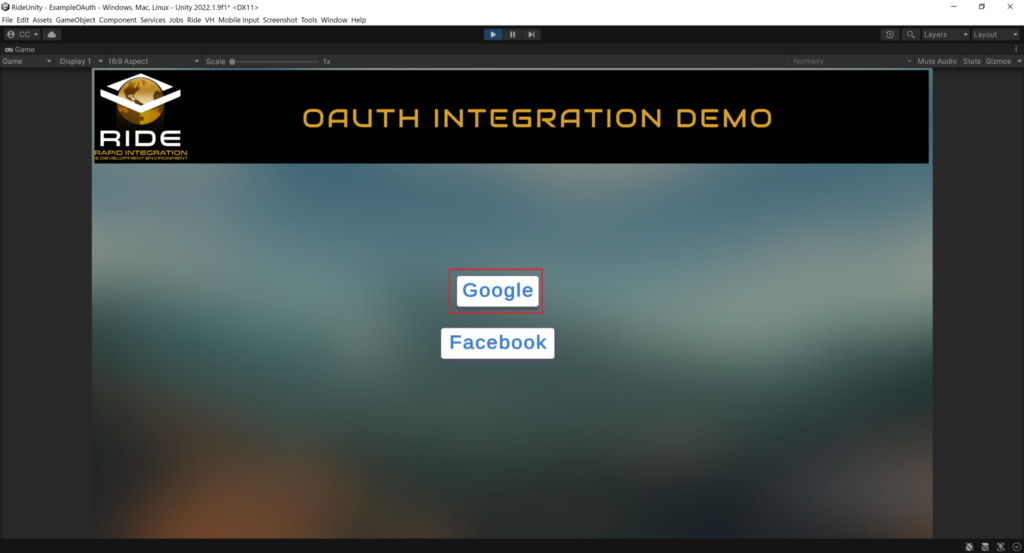
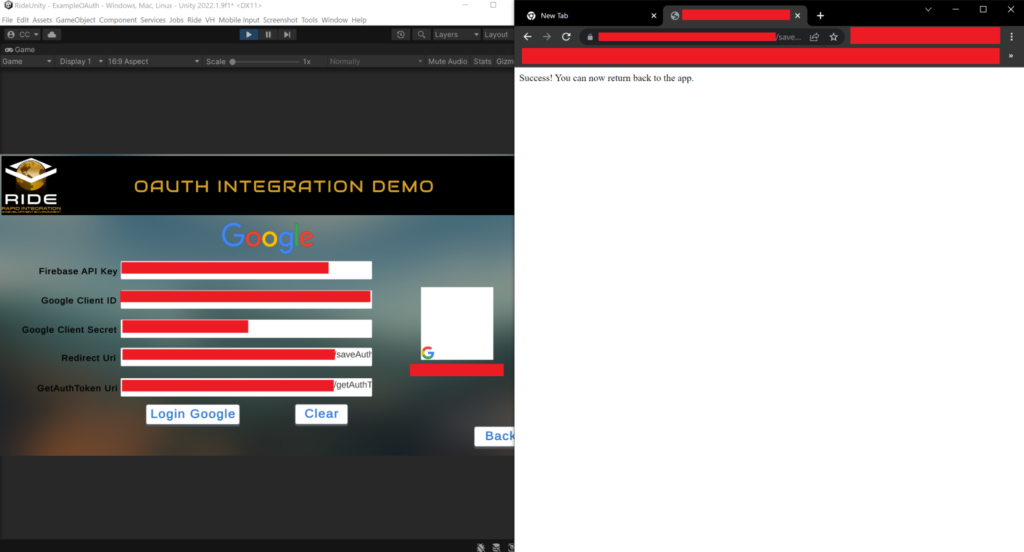
This example demonstrates how to use Google and Facebook OAuth authentication systems within RIDE.

How to Use

Facebook

  1. Choose Facebook.

  2. Fill in the things as under from Setup Requirements section below:
    1. Firebase API Key: Step-2.
    2. Facebook App ID: Step-9(j).
    3. Facebook App Secret: Step-9(j).
    4. Redirect / SaveAuthToken URL: Step-5(n)-i.
    5. GetAuthToken URL: Step-5(n)-ii.

  3. Click on Login Facebook button verifying everything in Step-2 and it will redirect you to the web page to ask Allow login to Facebook. Enter your Facebook credentials and click Continue.

  4. A webpage will pop up telling to return to the app and you will see your name, email and profile picture pop up in the Unity App indicating that the login was successful.

  5. Click the Clear button to clear the account profile pic, email, and name.
  6. Click Back to return to the login selection menu.

Google

  1. Choose Google.

  2. Fill in the things as under from Setup Requirements section below:
    1. Firebase API Key: Step-2.
    2. Google Client ID: Step-7(a)-i.
    3. Google Client Secret: Step-7(a)-i.
    4. Redirect / SaveAuthToken URL: Step-5(n)-i.
    5. GetAuthToken URL: Step-5(n)-ii.

  3. Click on Login Google button verifying everything in Step-2 and it will redirect you to the web page to ask Allow login to Google. Enter your Google credentials or choose from a list of accounts.

  4. A webpage will pop up telling you to return to the app and you will see your email pop up in the Unity App indicating that the login was successful.

  5. Click the Clear button to clear the account profile pic, email, and name.
  6. Click Back to return to the login selection menu.

Scene Location & Name

Assets/Ride/Examples/OAuth/Scenes/ExampleOAuth.unity 

Scene Setup

The example Unity scene directory contains the backend scripts related to the authentication services that are presented in a custom UI within the scene: ExampleOauth.cs, FirebaseAuthHandler.cs, GoogleAuthenticator.cs, FacebookAuthenticator.cs, FacebookIdTokenResponse.cs and GoogleIdTokenResponse.cs.

Server Setup

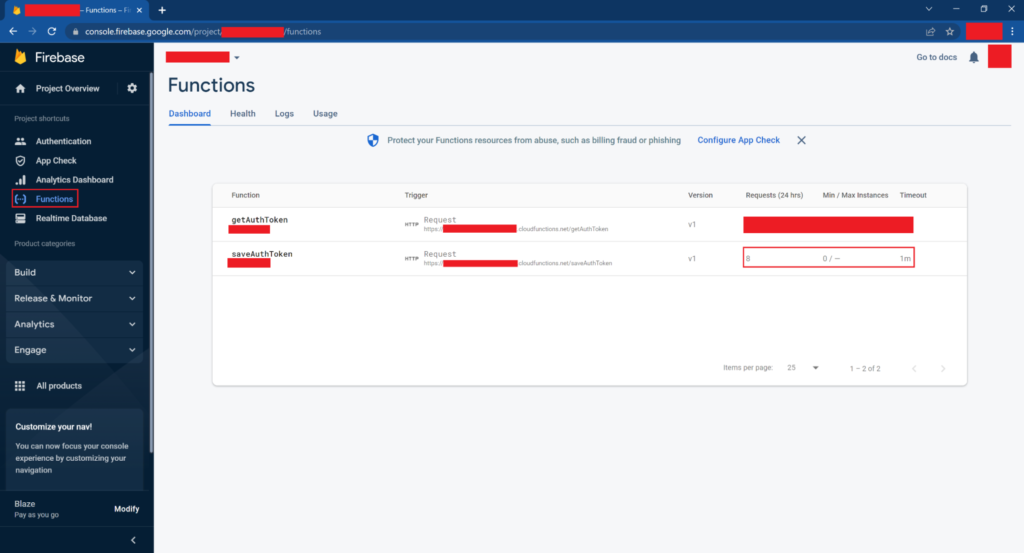
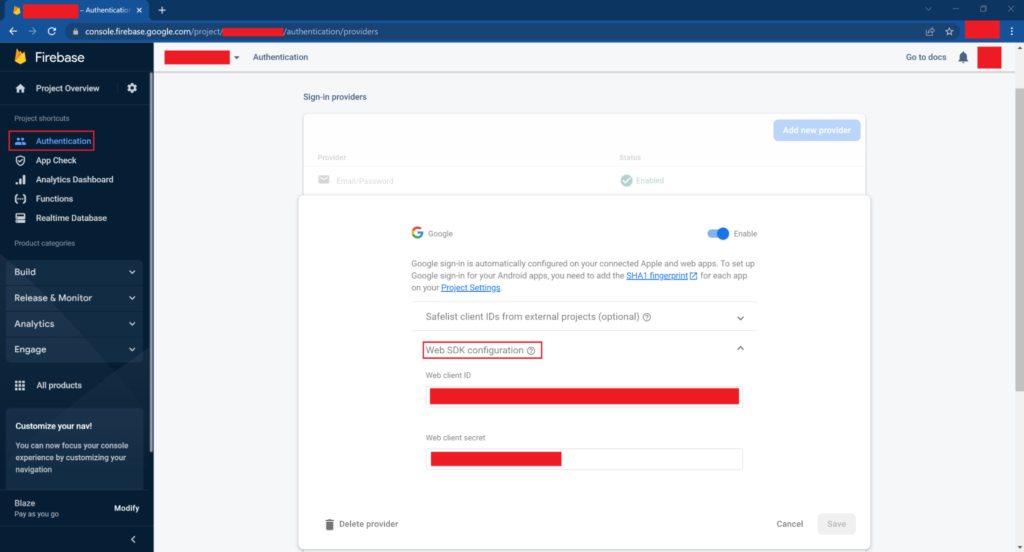
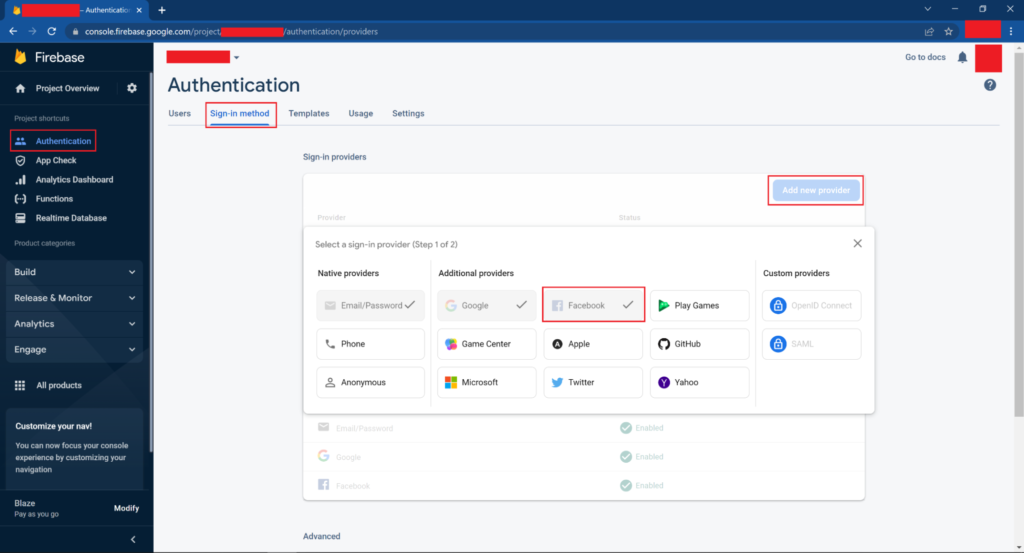
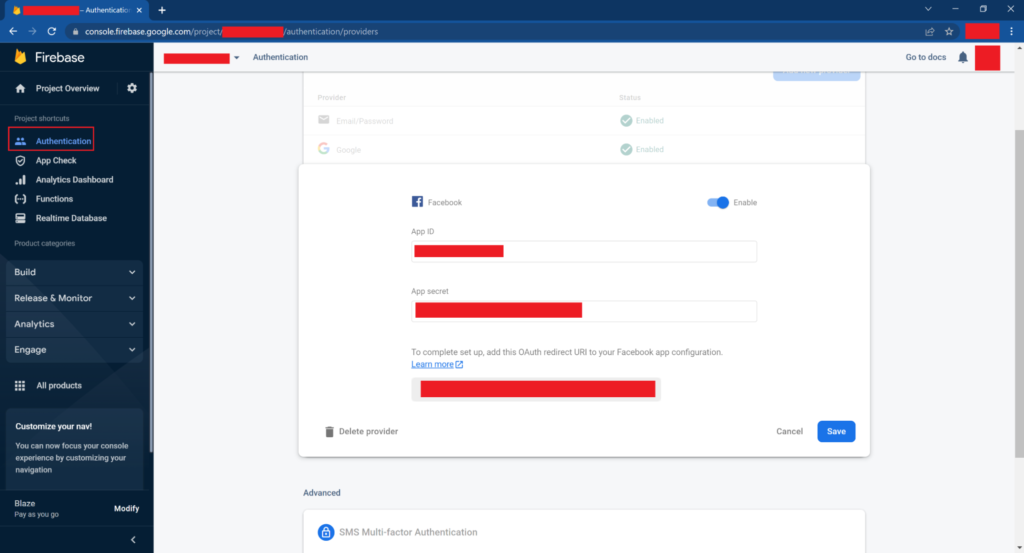
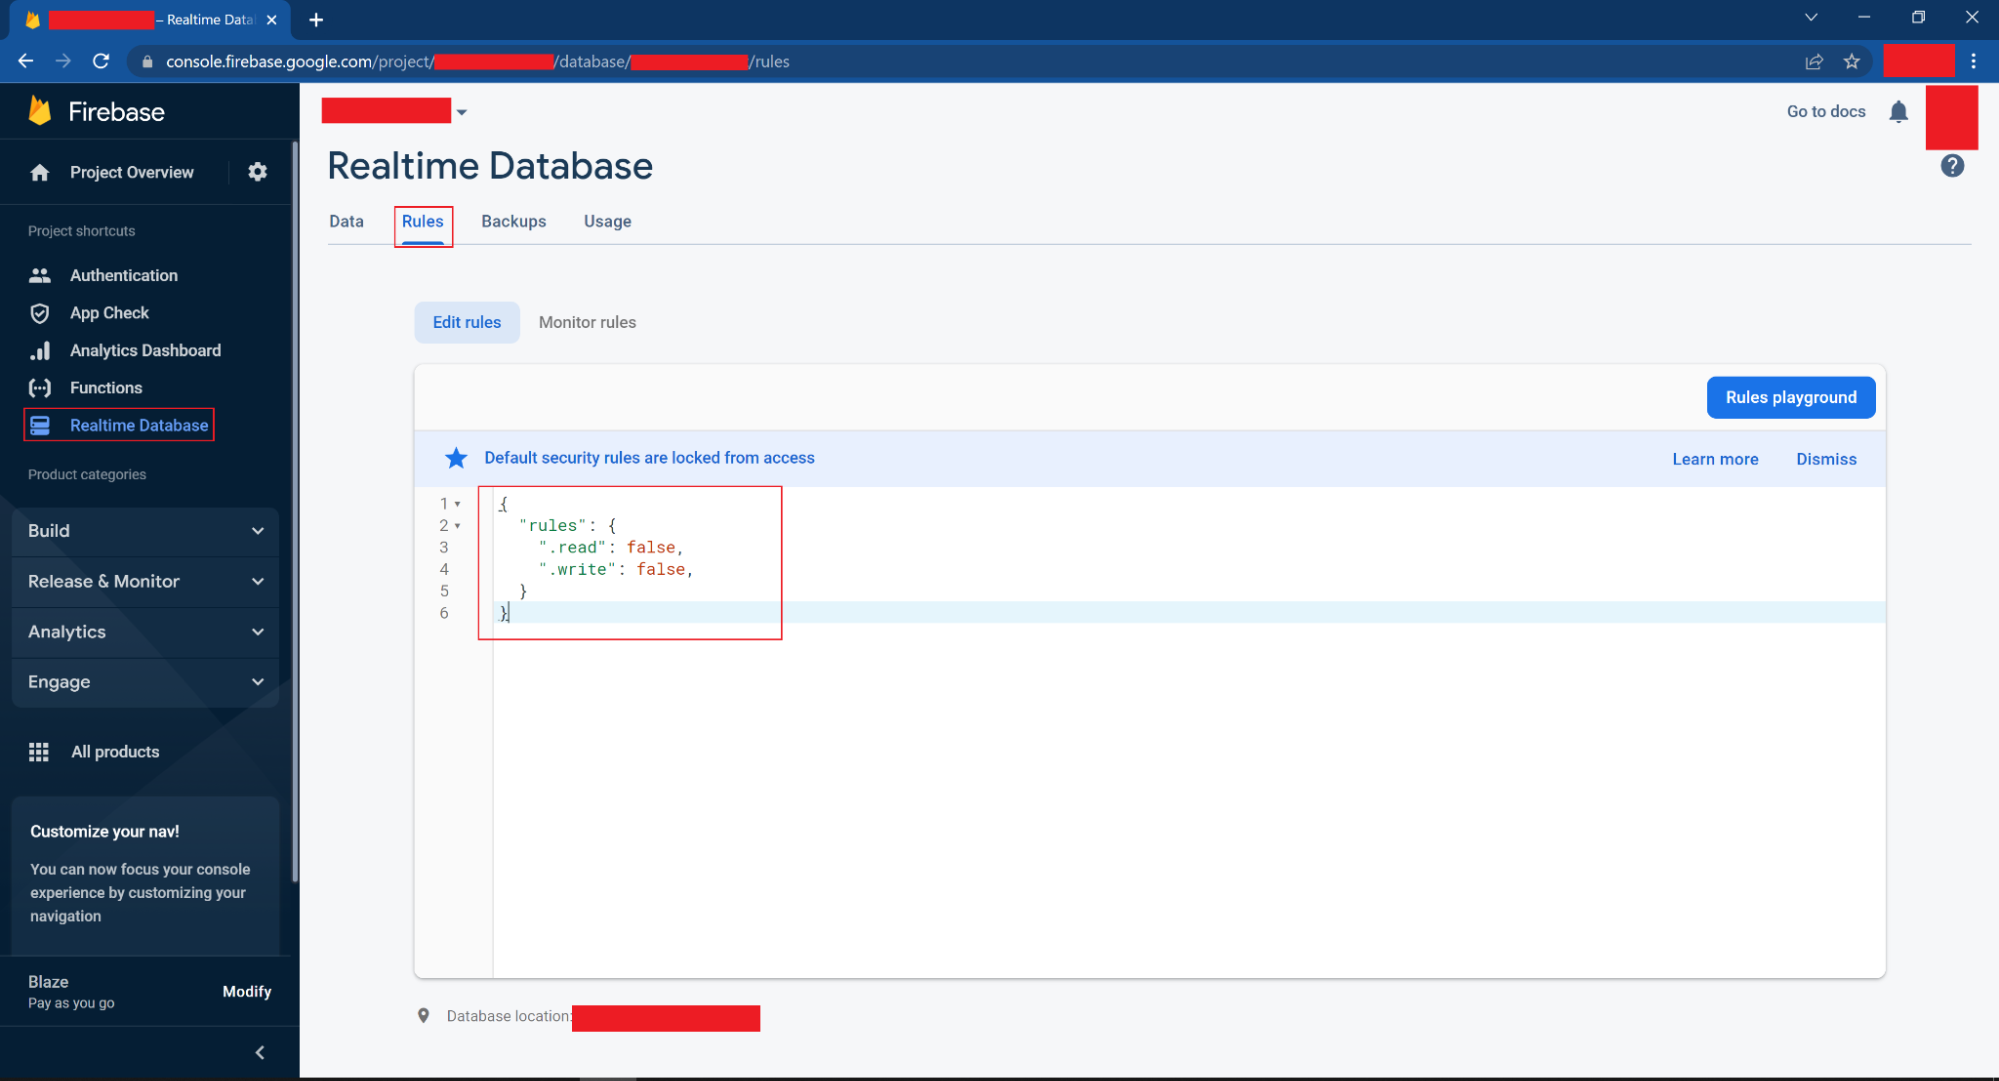
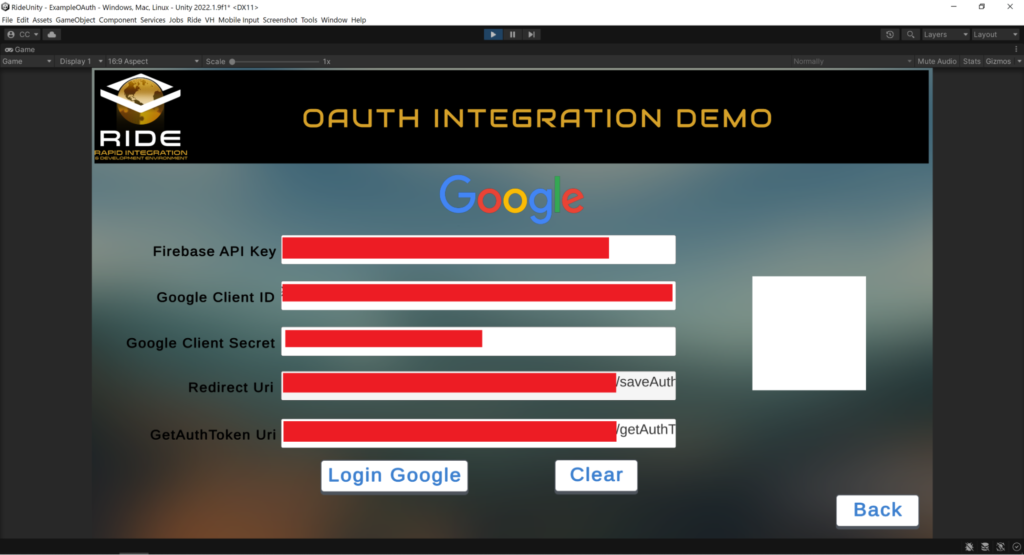
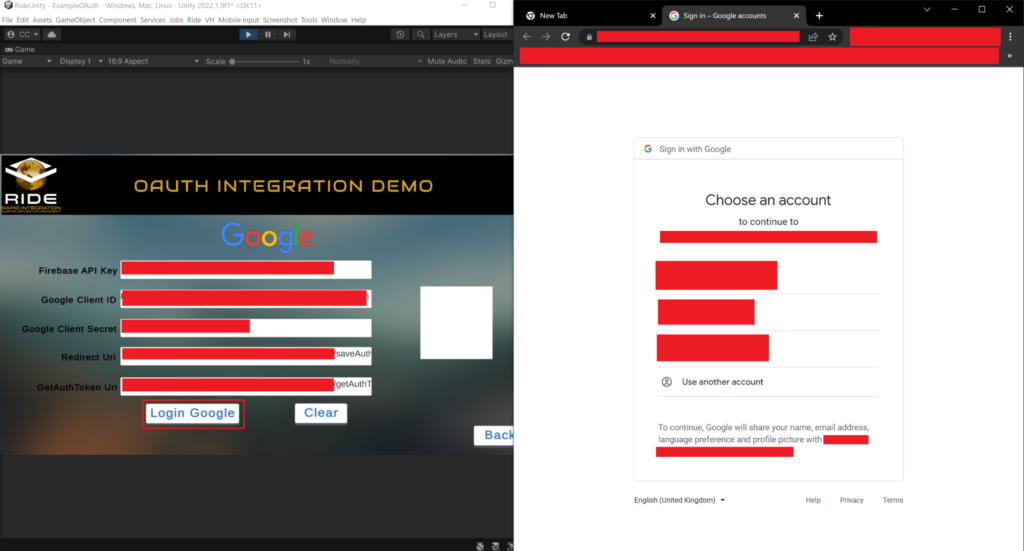
Enable custom authentication cloud services for your own project using the following process:

  1. Create a Google Cloud project which will act as the master project in the Google Cloud Console https://console.cloud.google.com/. Make sure you have the developer or admin privileges.
  2. Go to Firebase console https://console.firebase.google.com/ and you will see the same project already there. Select it. Keep a note of the Web API Key under Project Overview→Project Settings.
    1. Note, the key may not appear immediately. Navigate to Authentication and step through the various tabs (Users, etc.) then return to the Project Settings whereupon it should now populate. 
  3. Next, create a new database for logging all related services data. 
    1. In the Firebase console, navigate to BuildRealtime Database.
    2. Click Create Database button.
    3. Click Next in the prompt.
    4. Choose Start in Locked Mode.
    5. Click Enable.
    6. Empty database with corresponding URL should now appear in the main pane.
  4. In the BuildFunctions section we need to create and invoke two cloud functions. 
    1. Firebase Cloud Function is a backend for Firebase that lets user deploy JavaScript/TypeScript code onto Firebase and then run it when required. It is used here as a web page to retrieve the authentication code required to get a user sign in to Google, Facebook or any other providers.
  5. Invoking Cloud Function on Firebase Server:
    1. Go to https://nodejs.org/en/ and install nodejs to get the npm package installed in the system. To verify if installation was successful, type npm in command prompt and see you get no errors.

    2. Create a new folder on the desktop, naming it as desired. Open a new command prompt and change the path to that folder.
    3. Install Firebase tools using command, npm install -g firebase-tools.
      1. Once complete, recommend running ‘npm audit fix’ if vulnerabilities are reported.
    4. Login to your Firebase account using command, firebase login. It will open a browser window where you can login to your Firebase console.
      1. Answer Y or n regarding usage and error reporting information collection.
      2. Choose Allow for Firebase CLI access to your Google Account.
        1. A Firebase CLI login successful prompt will appear. Close and return to the command prompt window.
    5. Initiate Firebase instance using command, firebase init.
    6. Type Y to proceed.
    7. Choose Functions: Configure a Cloud Functions directory and its files.
    8. Choose Use existing [Firebase] project and choose it from the next option that pops up.
    9. Choose JavaScript as the language.
    10. Type N for Do you want to use ESLint to catch probable bugs and enforce style?.
    11. Type Y for Do you want to install dependencies with npm now?
      1. Once complete, you now have your firebase initialized!
    12. Copy file Assets\StreamingAssets\oauth\FirebaseCloudFunctions\index.js from the RideUnity project and replace the existing <current folder path>\functions\index.js to set the custom cloud function that will be deployed.
    13. Run command firebase deploy from the same command prompt to deploy it into the Firebase server.
    14. If everything was followed then you should see two functions named saveAuthToken and getAuthToken in the Functions section of the Firebase console with their respective associated endpoints as triggers.
      1. saveAuthToken endpoint: https://<your-region>-<project-id>.cloudfunctions.net/saveAuthToken
      2. getAuthToken endpoint: https://<your-region>-<project-id>.cloudfunctions.net/getAuthToken

  6. Google Cloud OAuth Consent Screen:
    1. In the Google Cloud console, go to API & Services→OAuth consent screen.
      1. Edit app registration, User Type, choose External, and click on CREATE.
      2. App information section fields:
        1. App name, enter custom name.
        2. User support email, enter desired email.
        3. App logo, add an image (optional).
      3. Develop contact information fields.
        1. Email address, use same email as above, add others as desired.
      4. Click SAVE AND CONTINUE.
      5. Scopes, leave as-is, click SAVE AND CONTINUE.
      6. Optional info, leave as-is, click SAVE AND CONTINUE.
      7. Summary, review and click BACK TO DASHBOARD.
  7. Google Cloud Credentials:
    1. In the Google Cloud console, click API & Services→Credentials
      1. OAuth2.0 Client IDs section, click entry name, “Web client (auto created by Google Service)”.
        1. Authorized JavaScript origins entries, ensure “URIs 3” populated with “https://<project-id>.firebaseapp.com” address.
        2. Authorized redirect URIs section, click on ADD URI, and add the SaveAuthToken endpoint generated in step-5(n)-i.
        3. Click on SAVE.
        4. Important, keep a note of the Client ID and Client secret entries listed in the upper-right.
          1. Note, if Client secret fails to appear, click RESET SECRET, then in the prompt, click RESET to generate it. 
  8. Firebase Google Login:
    1. Enable Google sign-in method in Firebase console:
      1. Go to the Firebase console under Build, Authentication→Sign-in method→Add new provider button, choose Google to add it into the list of providers.

    2. In the Configure provider pane, click the toggle to Enable, then click Save.
      1. Under Google→Web SDK configuration set the Web client ID and Web client secret from Step-5d. (Note, if not already auto-filled.)

  9. Facebook Login
    1. Prerequisite: Ensure you have a Facebook Developer Account (see link below).
    2. Create a Facebook app in https://developers.facebook.com/.
      1. Registration steps:
        1. Login or create Facebook account.
        2. Facebook for Developers, Welcome page, click Continue.
        3. Verify account using mobile number.
        4. Contact info email confirmation.
        5. Choose About you option and Complete Registration.
      2. Meta for Developers dashboard:
        1. If you do not yet have an app, click Create App.
          1. Select Consumer, click Next.
          2. Basic information screen:
            1. Add an app name field, input a unique name.
            2. Click Create app button. 
    3. Return to Meta for Developers dashboard.
    4. Add product, Facebook Login, click Set up (hold off on further changes until indicated in step 9(g) below).
    5. Under sidebar Settings→Basic:
      1. Under App domains, set the domain from step-5(n) i.e. https://<your-region>-<project-id>.cloudfunctions.net
      2. Under Privacy Policy URL, set it to your company’s privacy policy URL.
      3. Under User data deletion, set it to your company’s data deletion instructions or callback URL.
      4. Click bottom option, Add platform.
        1. Select Website and add url from step-5(n) under Site URL.
      5. Click on Save changes.
    6. Under Settings→Advanced:
      1. Turn on Native or desktop app?
    7. Under Products→Facebook Login→Settings:
      1. Set Client OAuth login to Yes.
      2. Set Web OAuth login to Yes.
      3. Set Enforce HTTPS to Yes.
      4. Set Use Strict Mode for redirect URIs to Yes.
      5. Set Valid OAuth Redirect URIs to url in step-5(n)-i.
    8. Click on Save changes.
    9. In the top of the window set the App Mode to Live.
    10. Under Settings→Basic keep a note of the App ID and App Secret.
  10. Firebase Facebook Login
    1. Enable Facebook sign-in method in Firebase console:
      1. Go to the Firebase console under Authentication→Sign-in method→Add new provider, choose Facebook to add it into the list of providers.

      2. Under Facebook, set the App ID and App secret from Step-9(j).


  11. Firebase Database Rules:
    1. In the Realtime Database section in the Firebase console, under Rules make sure to disable read/write so that no user can access the project but just make authentication requests.