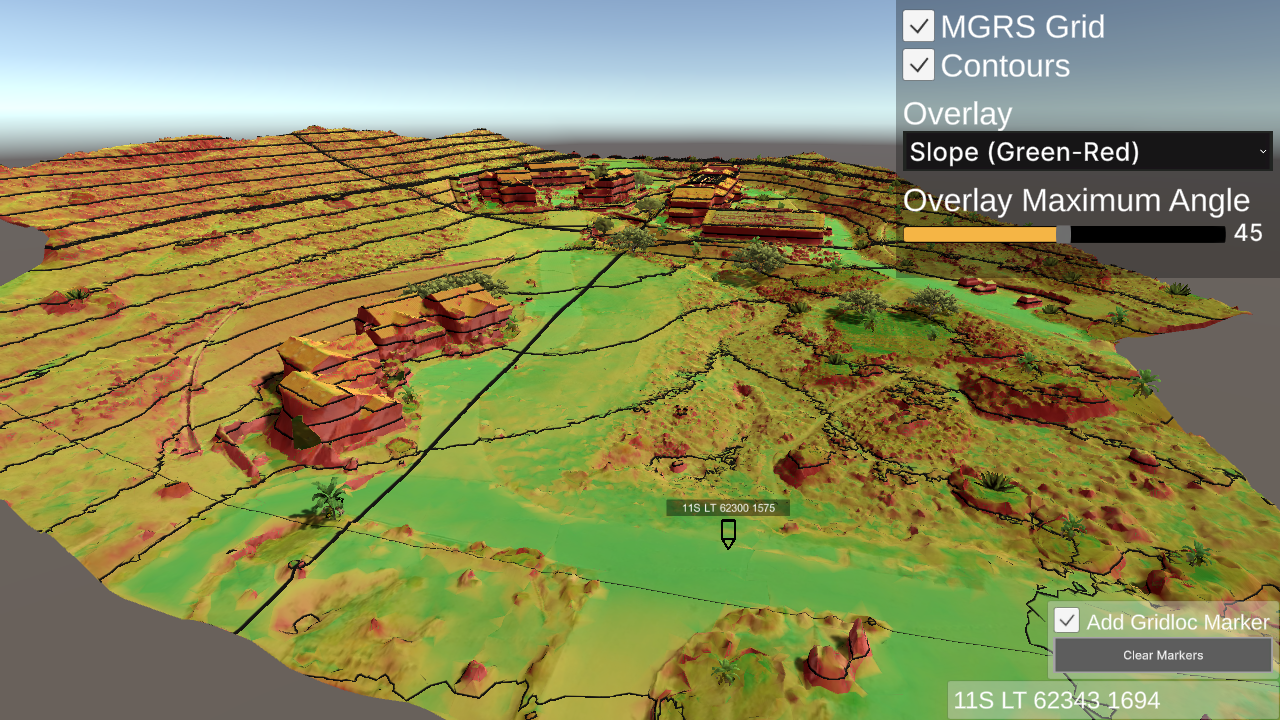
Demonstrates various tools for real-time terrain analysis.

Demonstrates various tools for real-time terrain analysis.
The MGRS Grid, Contours, Overlay, Overlay Maximum Angle and Add Gridloc Marker tools function by simple checkbox, dropdown selection or slider UI controls.
The terrain panel appears by default on scene launch and is divided into the following options:
Tip If steaming terrain on a mobile device (Android/iOS) strongly recommend setting the Radius to a value of < 800 to avoid running out of device memory. |
Important The steaming of Single LMAB terrain maps, with the exception of those with the “s3” location designation, only function while on the ICT domain. If remote, ensure your ICT VPN is active. |
Tip Navigation Controls:
Note, terrain loading menu cannot be toggled off currently. Use the top arrows to switch to the smaller system menu. |
Assets/Ride/Examples/GridContourToggle/ExampleGridContourToggle.unity
Utilize the Grid Contour Toggle tools by adding related script and prefabs to your scene. Refer to the example scene for all components.
Add this script to an empty object in your scene to enable the contour tools. This script is derived from ExampleLoadTerrain, hence the terrain loading debug panel. Modify as needed to suit your own needs.
To enable the Gridloc Marker tool, add the LocationMarker prefab to your scene, then disable it from startup. The related prefab under the Canvas object will handle the UI.
Add a Canvas object to the scene to organize the different UI elements. Next, add the following prefabs as child objects:
Instance the RideSystems prefab in your scene to enable the various necessary RIDE systems. Expand it in the Hierarchy panel, choose ResourceLoader, and add the LocationMarker prefab to the Unit Prefabs section.
Recommend adding the Simple Terrain Camera script to the Camera object, per the controls described above for manipulating the camera at run-time.